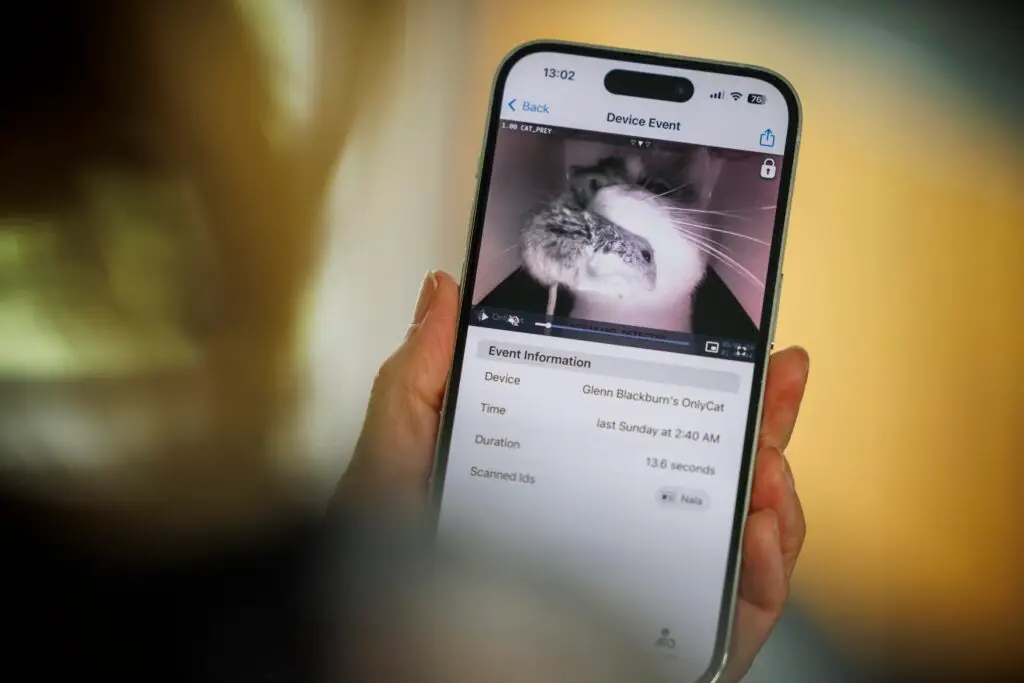
The OnlyCat app can be downloaded from the Apple App Store (for iPhone), or from Google Play (for Android devices)
Once you’ve downloaded the app, follow the guides below to set up your OnlyCat.
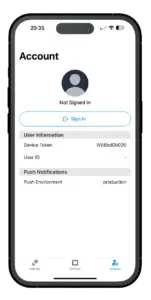
To use the app, you’ll first need to sign in.
Navigate to the “Account” tab, then tap “Sign In”.
Follow the instructions on screen to register an account with your email address or sign in using Google, Facebook, or Apple account.
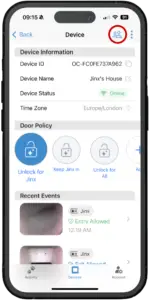
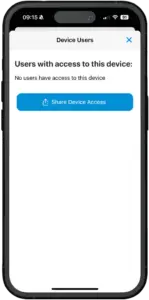
If you wish to share your cat flap with more people, such as in your household, you can do this by selecting the people icon, next to the three dots on the top menu in the Device page, then click the ‘Share Device Access’ button.
This will generate a link that you can share to grant access to your device.
Please note: Any additional users will need to have their own OnlyCat account.
Go to the “Devices” tab, and tap the ‘+’ button in the top toolbar. You will be guided through several steps.
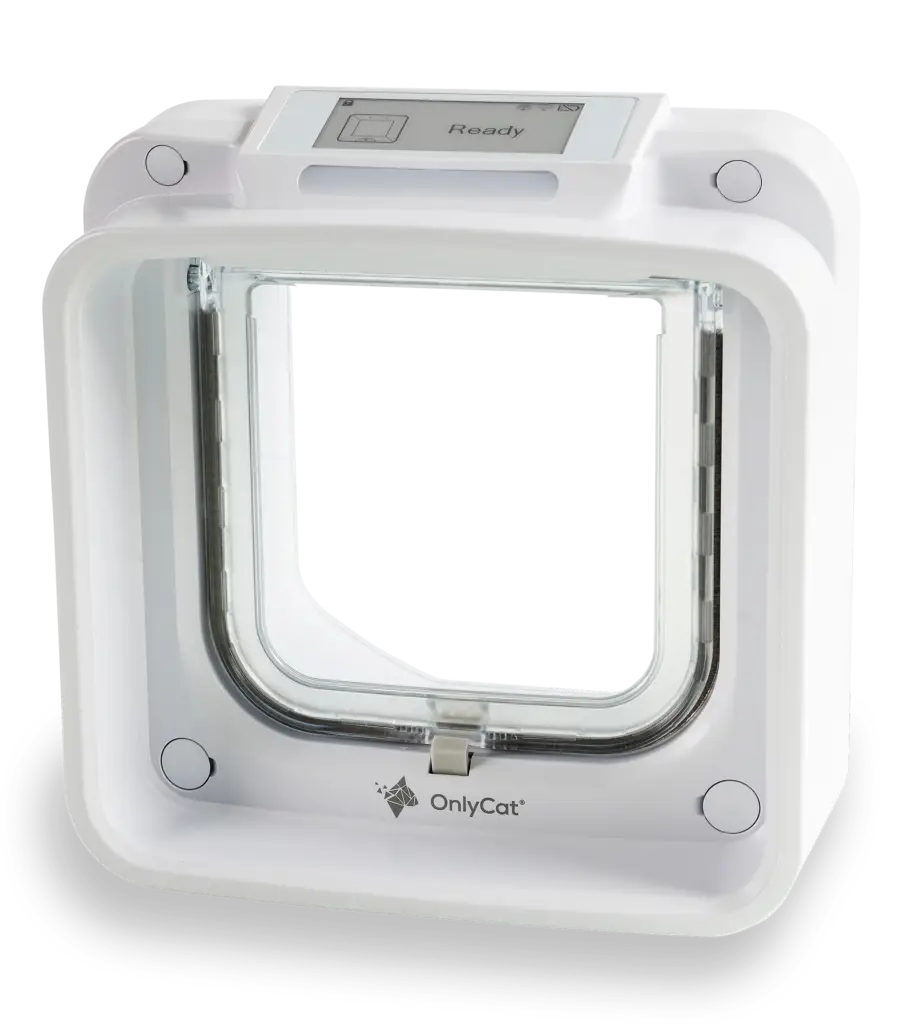
Once your OnlyCat device has connected to your Wi-Fi network, it should show “Ready” on the screen, and it should appear on the Devices tab in the app. It is now ready for use.
By default, OnlyCat will unlock for all motion, allowing any cat to come in or out (without prey of course). You will see events, and accompanying videos, for any transit attempt on the in-app Activity tab.
There is no need for a separate mode to register cats. Whenever a new cat with a microchip is seen by the cat flap, a microchip ID will show next to the accompanying event. You can tap this ID to assign a friendly name to the cat in question.
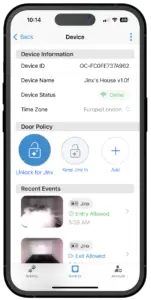
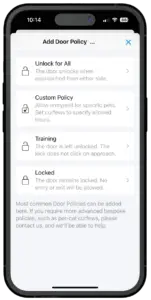
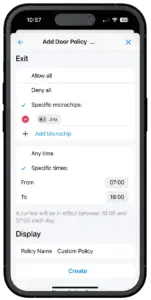
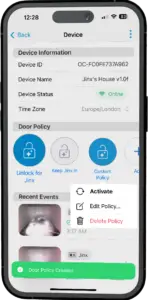
OnlyCat allows the creation of multiple Door Policies, which can be easily switched between. Each Door Policy is a set of rules, deciding which cats can come and go, and at which times.
If you have any questions or require any assistance getting your OnlyCat set up - we're here to help.
Enter your email below to keep up to date with all the latest news on our:
Plus more content from our feline friends!
