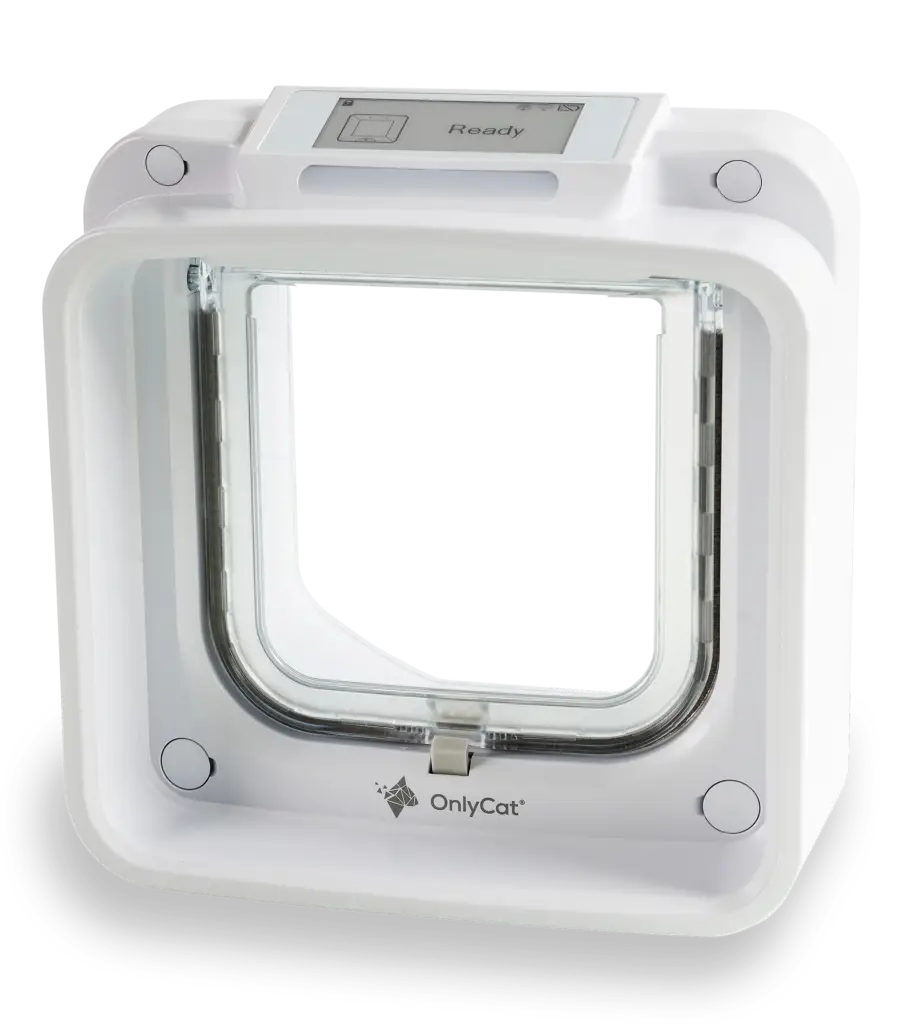
Please note:OnlyCat is built on the SureFlap Dual Scan Cat Flap, and while the SureFlap instructions for installation include removing the front cover, no such action is necessary for the OnlyCat device. Removing the front cover will break the warranty seal and void the warranty on the device. We offer a range of mounting adaptors, should your existing wall cutout dimensions exceed the external dimensions of OnlyCat.
1. Prepare the mounting position (outdoor)
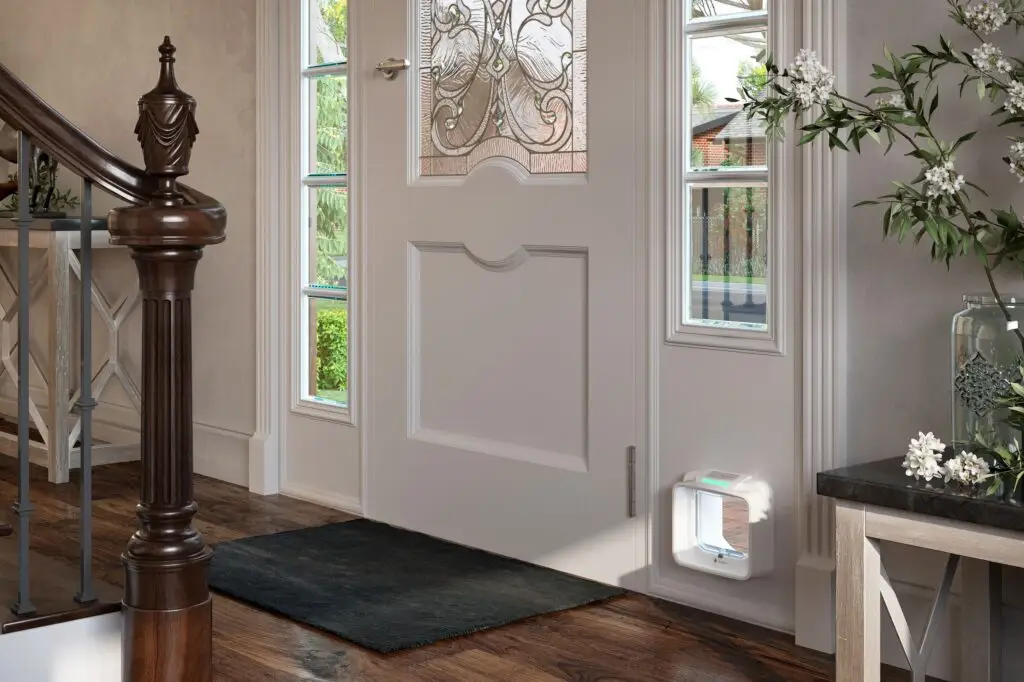
1.1 Choose your mounting position on the wall so that your cat has easy access through the flap and into the tunnel from outside.
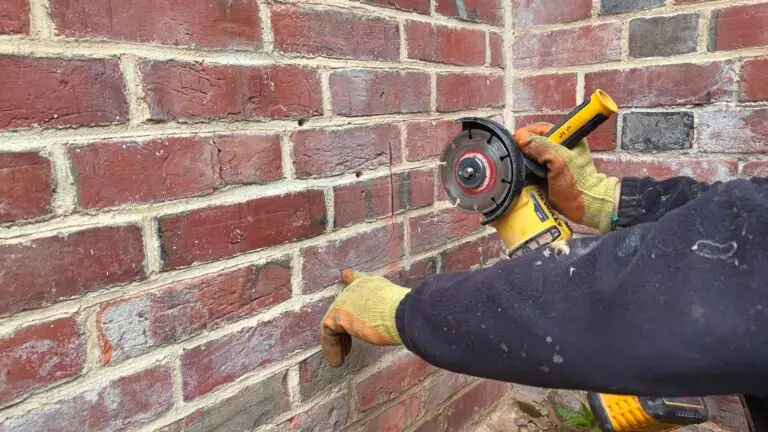
1.2 Mark a 170mm x 170mm (6 11/16” x 6 11/16”) square on the wall at the position of the tunnel.
1.3 Make a hole through the wall using appropriate tools and ensure that the tunnel is horizontal. A slight slope downwards from the inside of the house to the outside will ensure any rain runs out of the tunnel.
2. Prepare the tunnel extender(s)
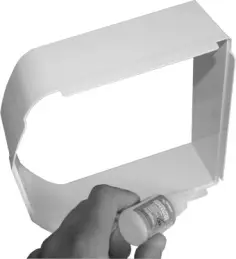
2.1 Apply superglue to the four tabs of the tunnel extender and fit the tunnel extenders together. When the glue has dried, apply weatherproof tape to the outside of the tunnel.
2.2 Follow step 2.1 to bond all the tunnel extenders together.
Remember do not glue the tunnel extender to the tunnel of the cat flap, just use tape for this joint when you come to it
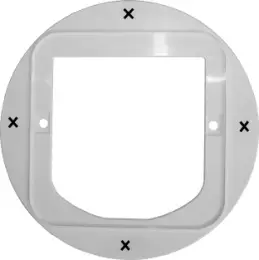
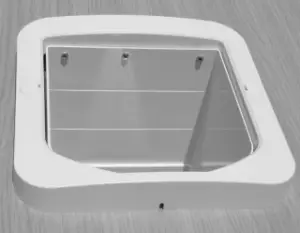
3. Attach indoor mounting adaptor to the device
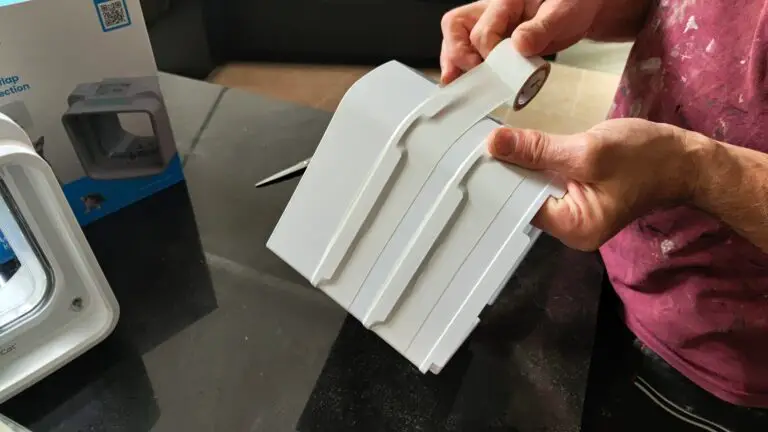
3.1 Take one of the mounting adaptors and drill 4 holes in it using a 4mm (5/32”) drill bit – these four holes are for the screws that will hold the cat flap to the inside wall of your house.
You can put the four screws where you like around the perimeter of the mounting adaptor.
3.2 Now take the two shortest screws from the box and using a washer screw the mounting adapter to the cat flap.
4. Prepare the mounting position (indoor)
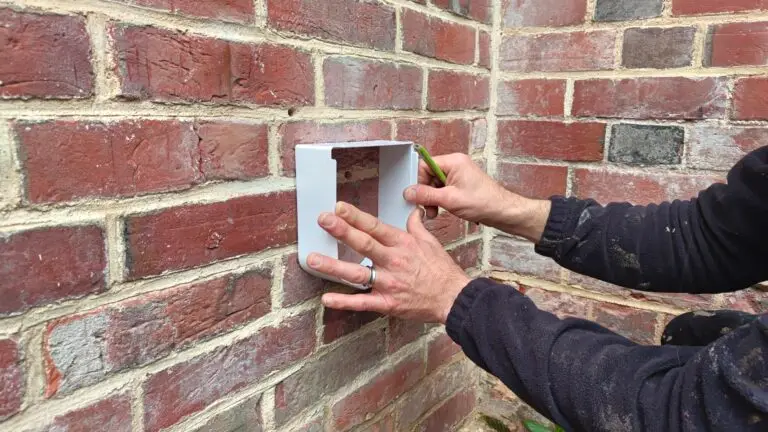
4.1 Place the cat flap (with the mounting adaptor) in the hole in your wall on the inside of your house.
4.2 Mark the positions for the four screws through the holes you have made in the mounting adaptor.
You will also need to remove some material from the wall to allow for the screw and washer which hold the mounting adapter to the main assembly – this will ensure that the mounting adapter fits flush with the wall.
4.3 Drill the four holes in your wall using an appropriate drill bit to suit the construction of your wall and your chosen screws.
4.4 Tape the tunnel extender to the end of the cat flap’s tunnel.
4.5 Place the cat flap and the tunnel through the hole in your wall and screw it in place using the four screws through the mounting adaptor.
5. Final outdoor assembly
5.1 On the outside of your house, you will now have the tunnel sticking out of the wall – take the external frame and other mounting adaptor and place these over the end of the tunnel.
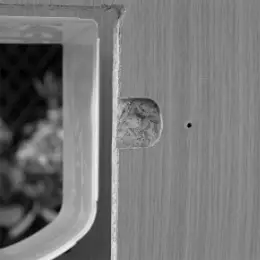
5.2 Mark the position of the two screw holes required to mount the external frame and then drill appropriate holes in the wall.
5.3 Screw the external frame and mounting adaptor to your external wall.
5.4 To hold the end of the tunnel in position we recommend using small screws to secure the tunnel to the external frame.
5.5 We recommend putting some waterproof sealant between the tunnel and the external frame to prevent water getting into the wall cavity.
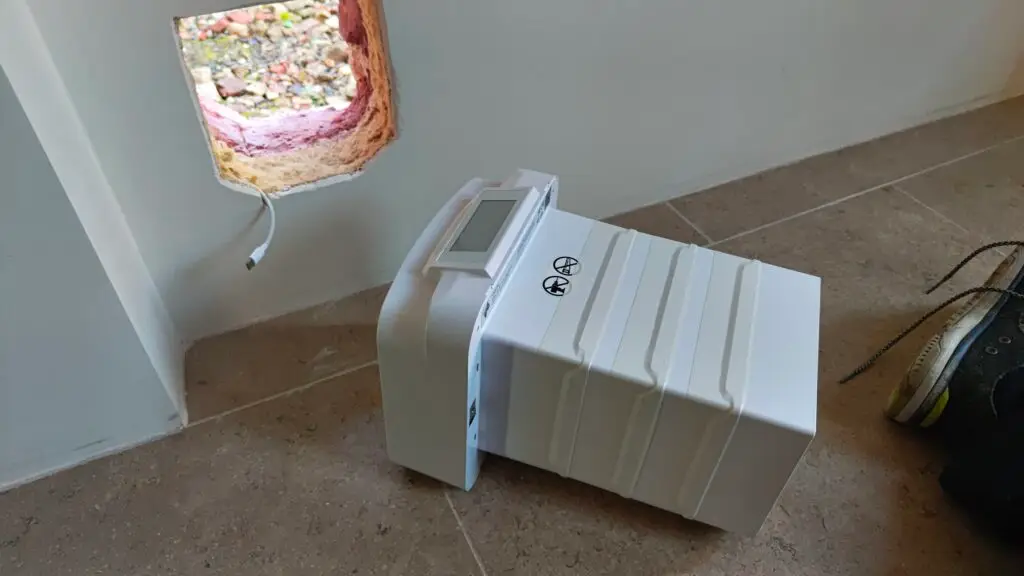
Need some more help? Here is a case study of another OnlyCat user who documented their In-Wall installation:
How is it powered? I can see in the image there is a USBC cable- but where is this supposed to connect to, especially if it’s on a door where it will move when opened and closed?


4 responses
Dear sir or madam,
if importing into the EU, is vat and customs applicable or is it included in the price?
Thanks,
Michael Rausch
Hi Michael,
Yes, VAT and customs charges are applicable.
Kind regards,
OnlyCat Support
How is it powered? I can see in the image there is a USBC cable- but where is this supposed to connect to, especially if it’s on a door where it will move when opened and closed?
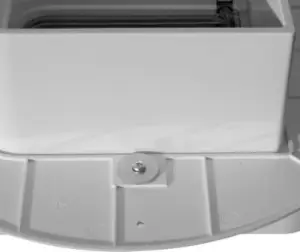
Hi Lucy,
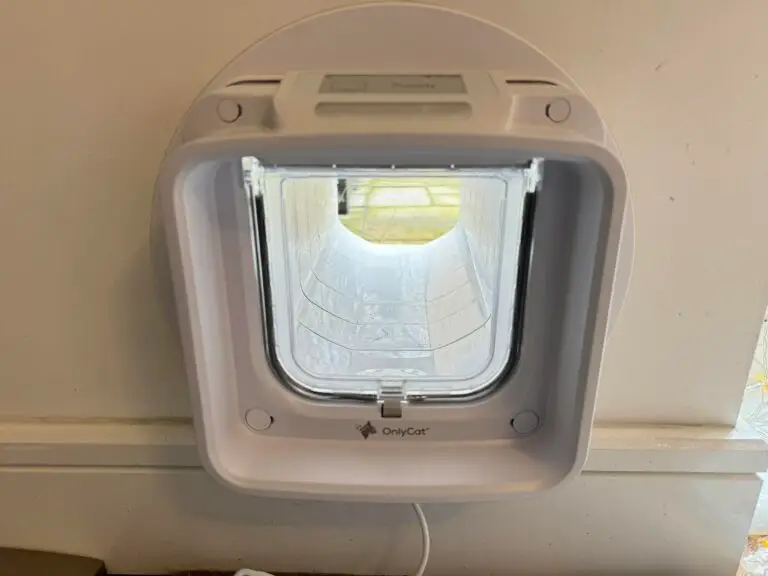
The USB input is on the bottom, please see: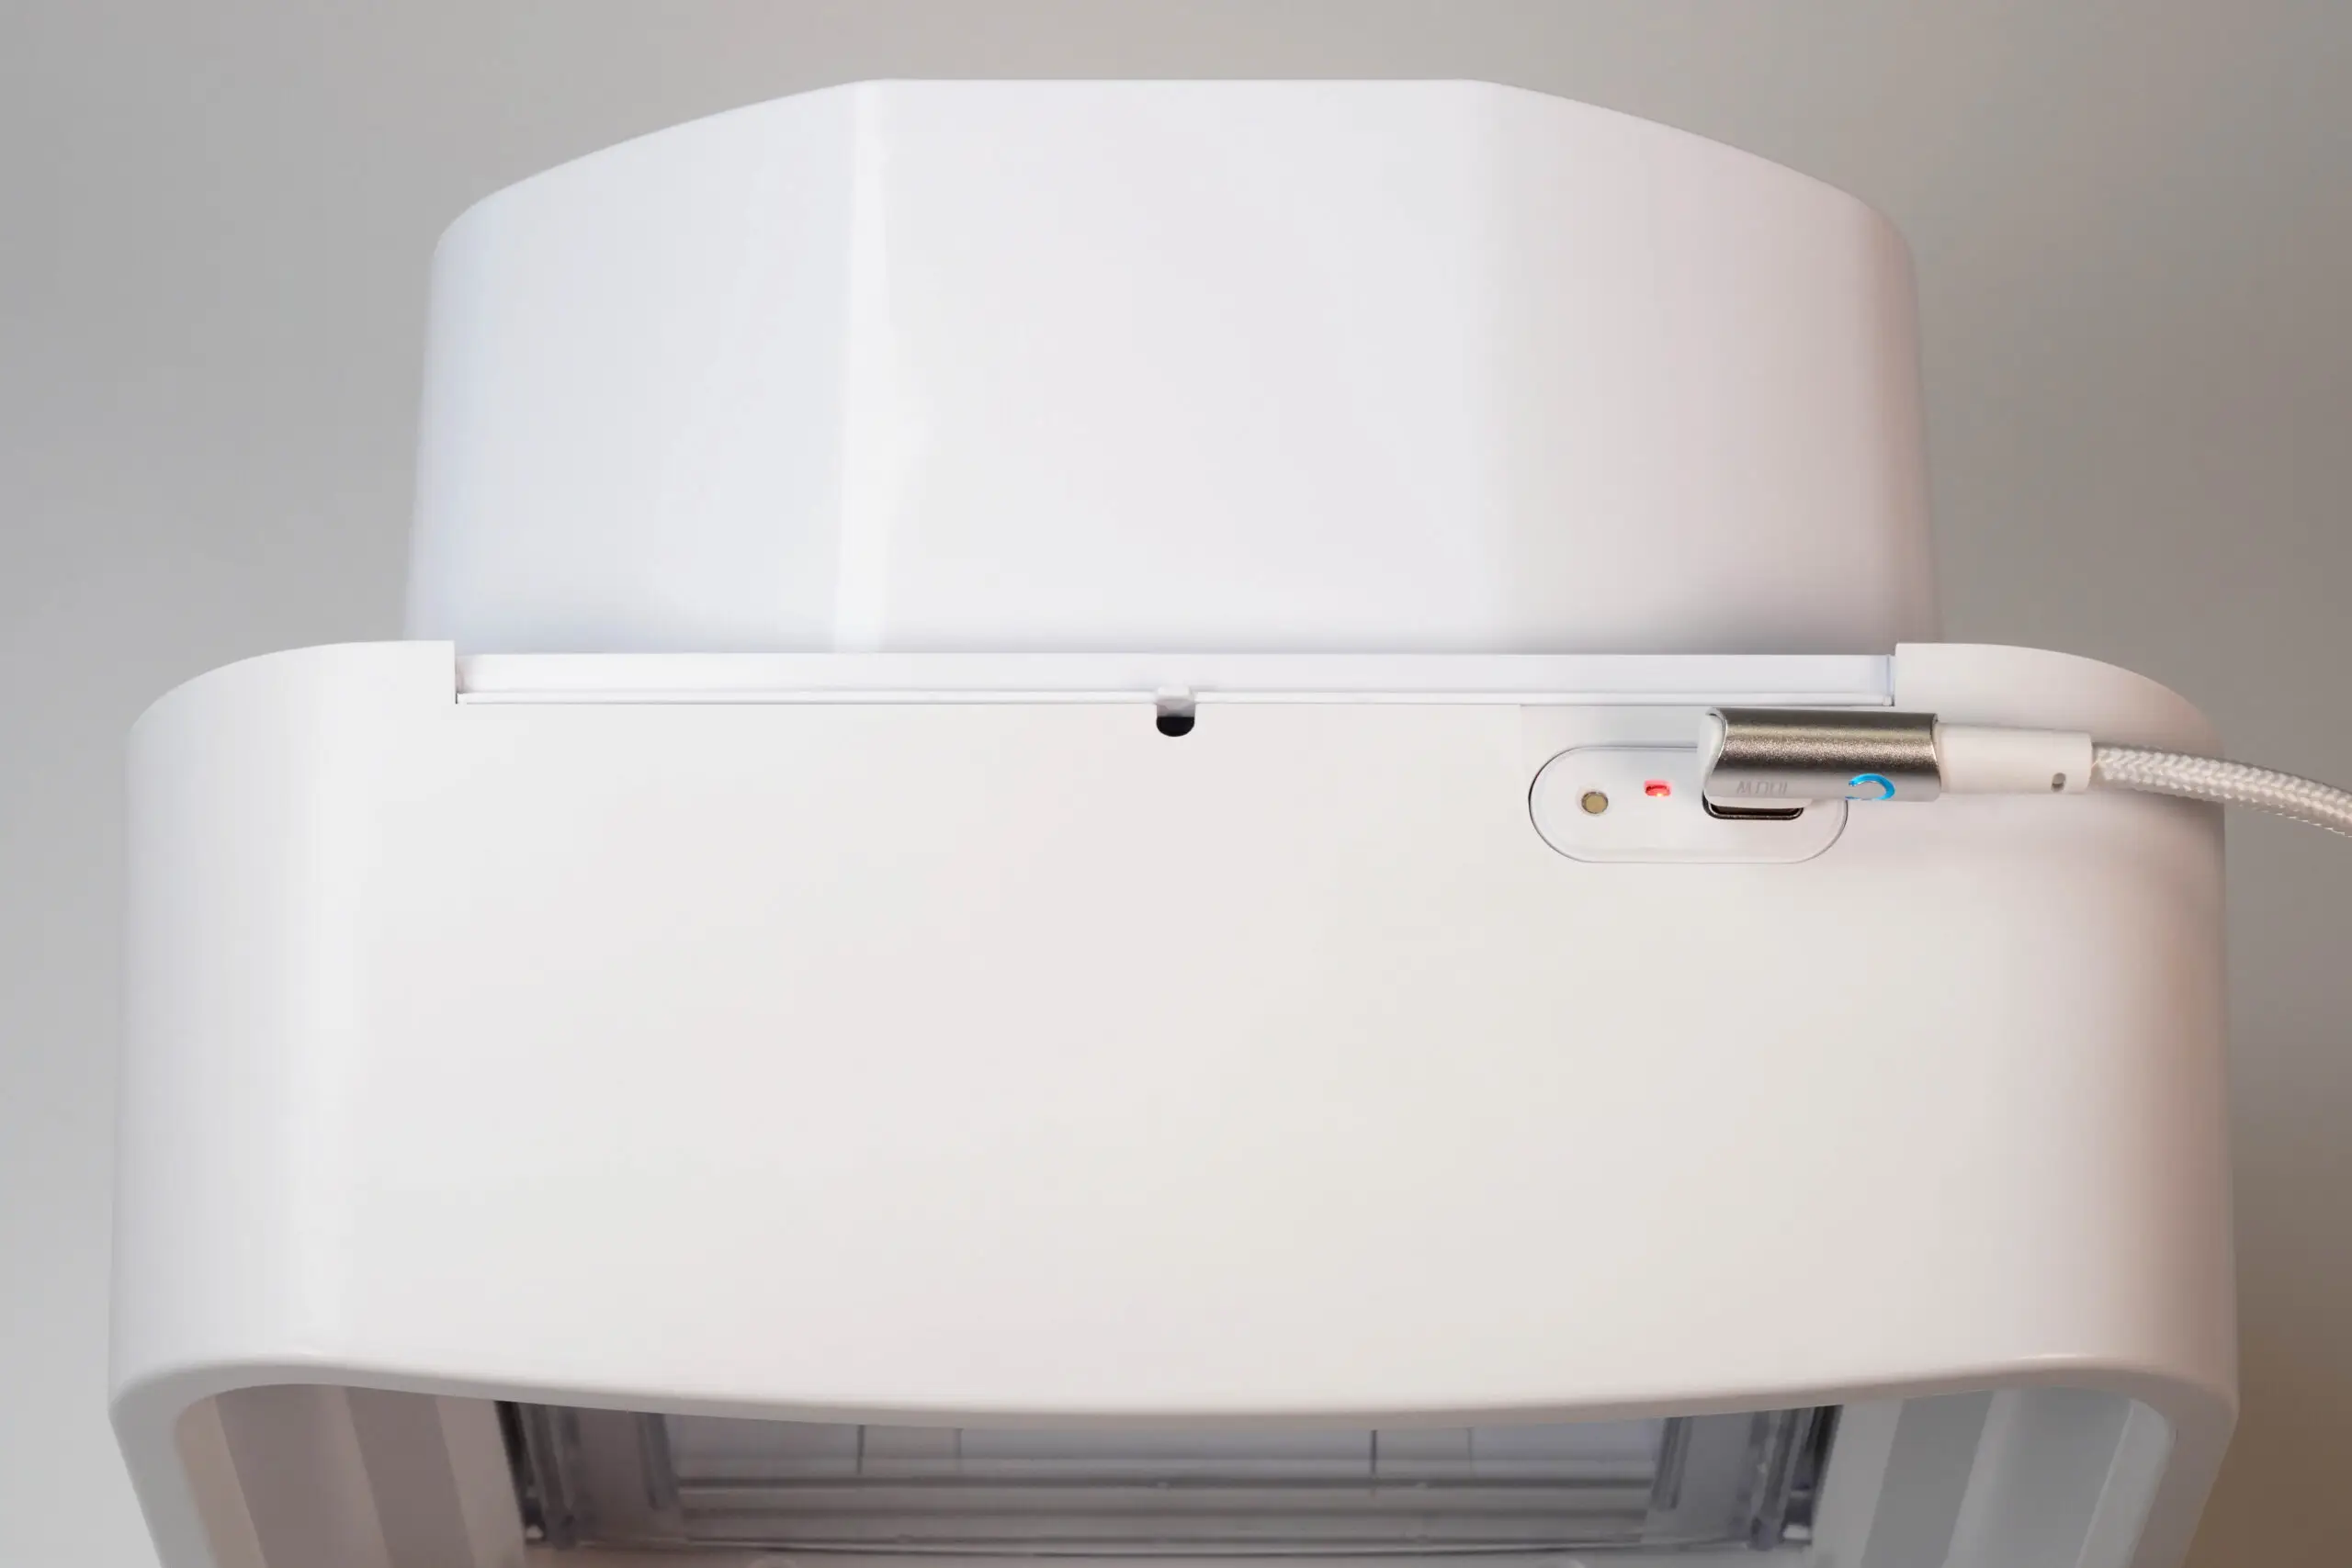
As for the cable management, please see the following:
https://help.onlycat.com/en/article/what-is-the-best-way-to-route-the-power-cable-pfnqa4/
Kind regards,
OnlyCat Support